Well at the beginning of the year I had hoped to be a better blogger this year, but I've not managed it this past month. Lots of reasons why, my having a bad bout of tonsillitis being one of them. However I am now recovered and showing today the card that I've made to enter into the Stamping Sensations Challenge this month which is Things With Wings. My first reaction was to reach for the Lavinia stamps, but I stopped myself as that was too easy, next was to go for one of the many bird stamps that I have, but then I spotted this Pink Ink stamp that was released earlier this month (that I had to have) and decided to use her instead. Yesterday was the perfect day to stamp and get inky, while it poured down outside I was nice and dry having some me time. I don't very often water colour but for this stamp I decided to go with that for a change, I'm quite pleased with the results. Now I have to go and pack a suitcase, I'm away for just over a week with my Daughter and Grandsons, here's hoping the weather is going to be nicer in Devon next week.
Thanks for taking the time to look and your kind comments which are always appreciated.
Sue
Followers
Saturday, 17 August 2019
Thursday, 25 July 2019
July Rudolph Days
I can't believe that on what is forecast to maybe the hottest UK day on record that I'm posting a Christmas card. But today is the 25th so time for this months Rudolph Days challenge. Those of you how follow my blog regularly will know that I recently attended a two day workshop with Sweet Poppy Stencils. I have adapted a card that I made there into this one which is a smaller version, which will be cheaper to post when December gets here. I used the Holly Wreath stencil and translucent paste topped with green glitter while the paste was still wet. I then found a stamp that would fit into my small circle and matt and layered this into the middle using red and gold mirri card. I finished by matting and layering onto the same red and gold mirri card and popped onto a 6x6 card base. I do hope that you can join in the fun over on the Rudolph Days Challenge blog this month. It runs until the end of the month and there is a choice of two wonderful prizes on offer for the winner of the draw.
Now it would not be me if I didn't make more that one, I made eight to add to my stash. These will be shared between myself , my mother and my father-in-law at Christmas.
Thanks for taking the time to look and your kind comments which are always appreciated.
Sue
Now it would not be me if I didn't make more that one, I made eight to add to my stash. These will be shared between myself , my mother and my father-in-law at Christmas.
Thanks for taking the time to look and your kind comments which are always appreciated.
Sue
Saturday, 13 July 2019
Chameleon
I think I might have mentioned in an earlier post that I'm a bit addicted to Pink Ink Stamps at the moment, so when I saw this one for sale it jumped right into my basket shouting Buy Me, Buy Me. So what else could I do, I bought it. It was stamped onto Sheena's stamping card and then coloured with Spectrum Noir pens, I blended a little ink around the outside and added some Nuvo drops to the flowers. Then it was popped onto some black card and a 8x8 card base. I thought I would go and join in the challenge at A bit More Time To Craft which at the moment is Anything Goes.
Thanks for taking the time to look and your kind comments which are always appreciated.
Sue
Thanks for taking the time to look and your kind comments which are always appreciated.
Sue
Tuesday, 9 July 2019
The Earth Laughs In Flowers
My card today is for the Stamping Sensations Challenge which this month is The Earth Laughs In Flowers. I made this card for a friend who recently had an operation and I know that she has received it now. I used a beautiful stamp called Fantasy Flower Panel, by Chloe and some of the wonderful sparkly embossing powders that she uses too. First I stamped and embossed onto a piece of white card stock, them stamped the image again several times onto parchment paper and again embossed with the same powder. I then cut out the flowers and layered them on top of the main image adding a gem in the middles to finish. As the embossing powder that I used had a lilac colour to it, I matted onto a purple card base.
Thank you for taking the time to look and your kind comments which are always appreciated.
Sue
Thank you for taking the time to look and your kind comments which are always appreciated.
Sue
Friday, 5 July 2019
Sweet Poppy Stencil's Retreat
First I apologise for the amount of photos in this post. Last weekend I went to a Sweet Poppy Stencil retreat, it was held in a beautiful hotel in the midlands. Lucy and Paul were excellent hosts and kept us busy all weekend. We made four completed projects, these are that top four cards. Then we also made another seven which were bought home to finish. The reason these were not finished on the day/s is because they needed to dry before being put onto cards. As you can see there were lots of different techniques tried.
Glitter on paste then dried air dried.
Oxide sprays and then black ink through the stencil, then cut out with matching dies.
Glitter on paste then dried with a heat gun.
Micro beads over gold paste, there were three different shades of micro beads mixed together.
Distress inks through the stencil, then translucent paste and clear micro beads.
Distress ink background, black ink through the stencil then a mesh stencil with translucent paste.
Pearlised paste, when dry place stencil back over the top and colour with distress inks.
Paste and three colours of glitter over the top.
Three colours of paste marbled together and iridescent glitter over the top.
Paste onto black card then mica powders over the top and then heat set with heat gun. Gives this lovely metallic look when buffed after it's cooled down.
Finally pearlised paste and three different colour micro beads over the top, gives the appearance of flocking.
Thanks you for sticking with me until the end and your kind comments which are always appreciated.
Sue
Glitter on paste then dried air dried.
Oxide sprays and then black ink through the stencil, then cut out with matching dies.
Glitter on paste then dried with a heat gun.
Micro beads over gold paste, there were three different shades of micro beads mixed together.
Distress inks through the stencil, then translucent paste and clear micro beads.
Distress ink background, black ink through the stencil then a mesh stencil with translucent paste.
Pearlised paste, when dry place stencil back over the top and colour with distress inks.
Paste and three colours of glitter over the top.
Three colours of paste marbled together and iridescent glitter over the top.
Paste onto black card then mica powders over the top and then heat set with heat gun. Gives this lovely metallic look when buffed after it's cooled down.
Finally pearlised paste and three different colour micro beads over the top, gives the appearance of flocking.
Thanks you for sticking with me until the end and your kind comments which are always appreciated.
Sue
Thursday, 27 June 2019
Rudolph Days June
Last week I had some new dies and stamps arrive from Crafters Companion, so I wanted to use them straight away. I rummaged through my scraps boxes and found the right colours to make this card using the Poinsettia Die set. Everything came out of the scrap box, even the card base was made with an off cut of some A 3 card that I had laying around. This is where I admit to having made this last week but it's taken me until today to take the photo off of the camera and get it posted. I'm off to join in with both the Rudolph Days Challenge and Pixies Snippets Playground, it's been a while since I was last in the playground to play.
Thanks for taking the time to look and your kind comments which are always appreciated.
Sue
Thanks for taking the time to look and your kind comments which are always appreciated.
Sue
Thursday, 13 June 2019
Fantasy World
My card today has been made for the challenge over on the Allsorts Blog, which is Fantasy World this week. I needed no excuses to get the Lavinia Stamps out and inky again. I decided to go for warm oranges and yellows for this card, I was hoping it would influence a change in the weather, but no such luck.
Thanks for taking the time to look and your kind comments which are always appreciated.
Sue
Thanks for taking the time to look and your kind comments which are always appreciated.
Sue
Friday, 7 June 2019
Show Your True Colours
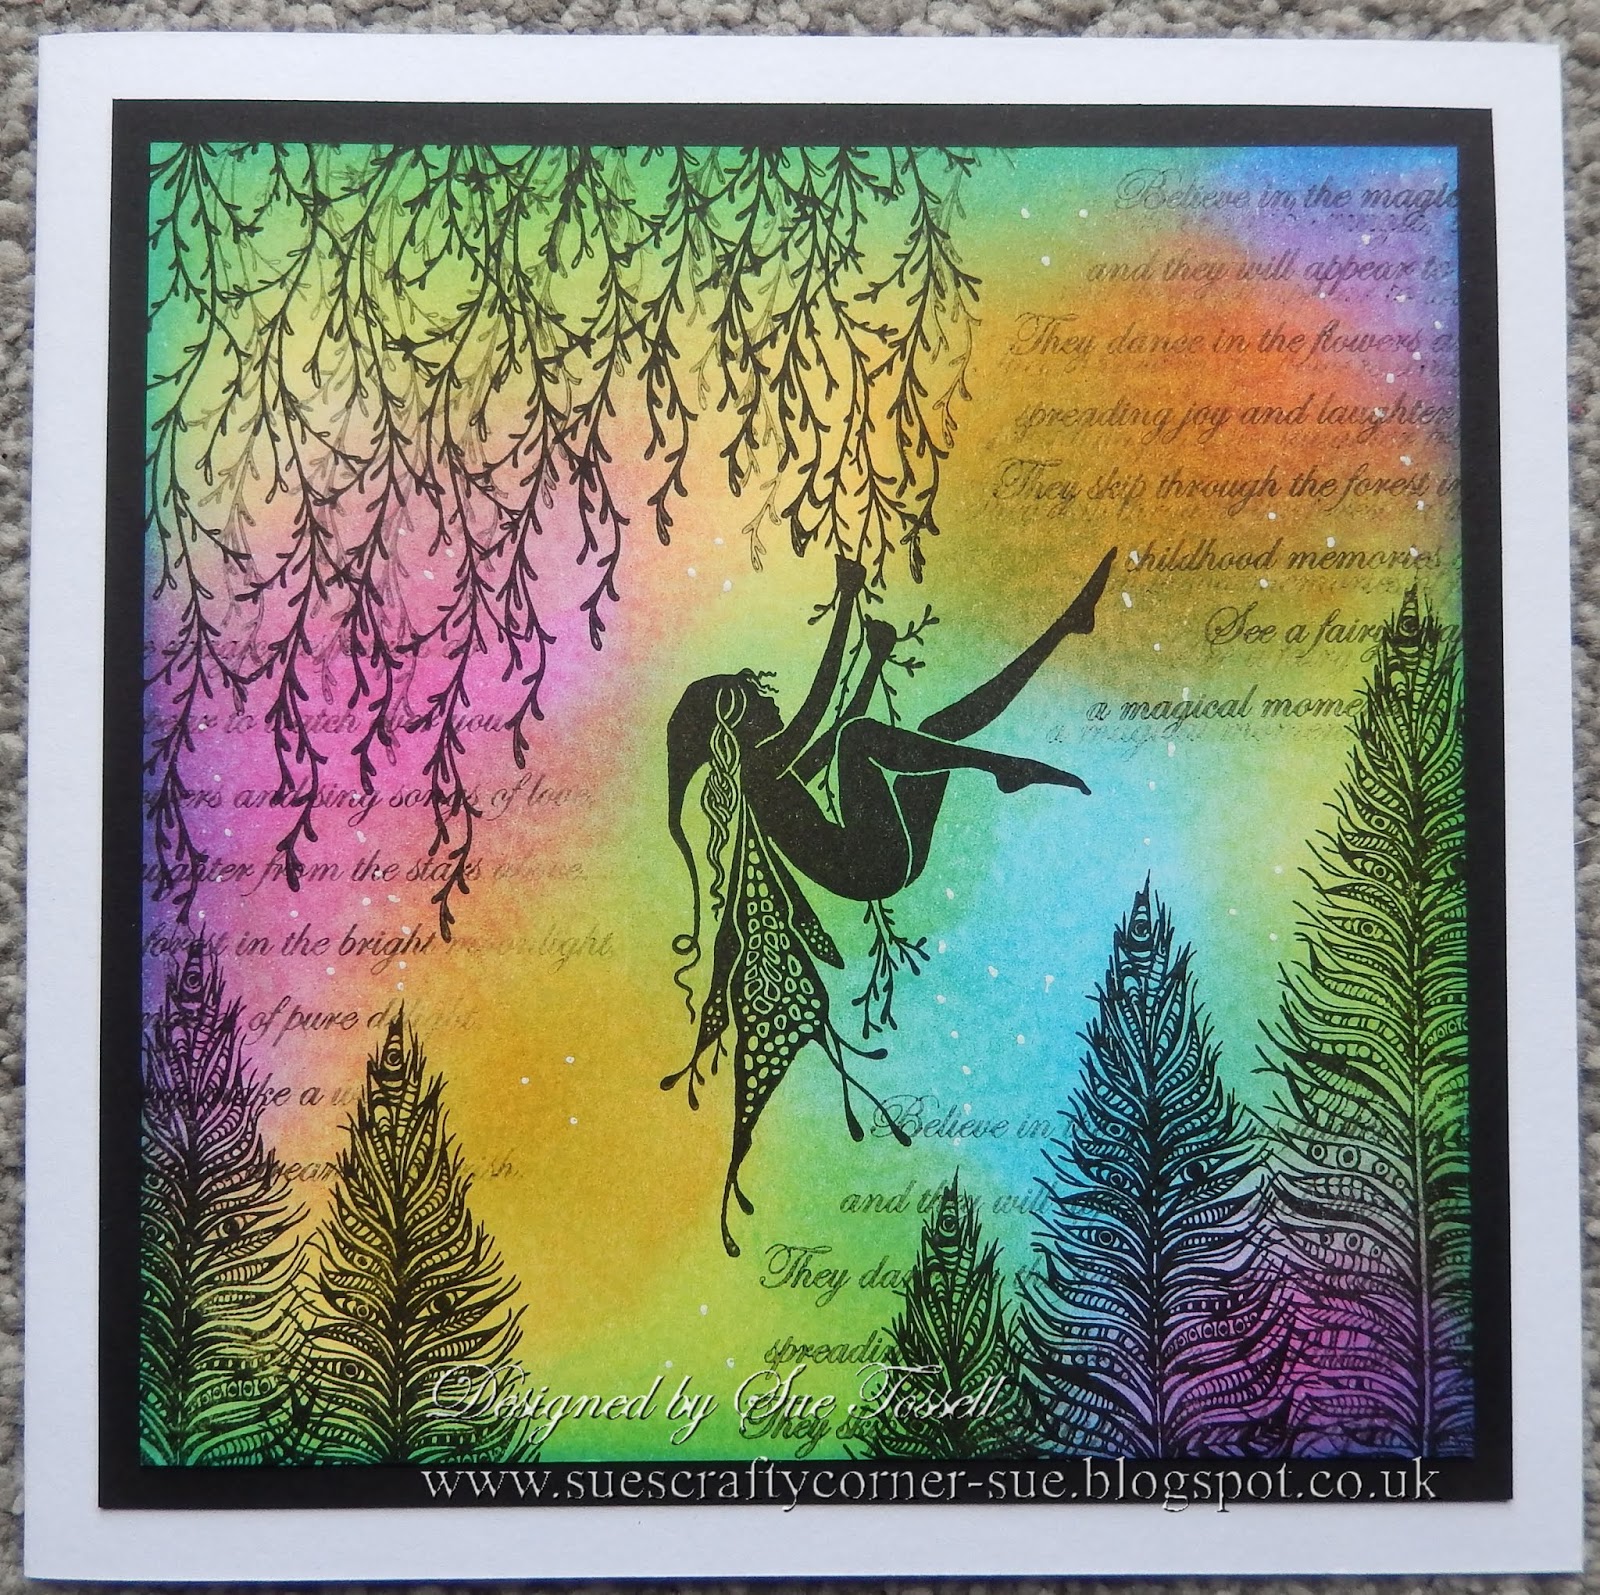
The challenge over on the Stamping Sensations Blog this month is Show Your True Colours. Now if you had asked me what my favourite colours were a few years ago I would have said Blues and Greens, but I also like Yellows and Oranges. More recently I find my self reaching for all sorts of colours which was how I came up with this card for the challenge, using my Lavinia stamps of course. I'm off on a crafty retreat with friends this weekend, just got to load my supplies into the car and then I shall be off.
Thanks for taking the time to look and your kind comments which are always appreciated.
Sue
Thanks for taking the time to look and your kind comments which are always appreciated.
Sue
Wednesday, 5 June 2019
Black, White and Green
My card today has been made for the Allsorts Challenge which this week is for Black, White and one other colour. For my card I've used an unbranded die bought from the Internet. I cut it out in black card, placed over a background made using the gel plate with some green paint that had bubble wrap placed over the top for texture. I then put onto a 4 1/2 x 4 1/2 inch card base. I've not added a sentiment to this one at the moment but will add it once I know where it is going.
Thanks for taking the time to look and your kind comments which are always appreciated.
Sue
Thanks for taking the time to look and your kind comments which are always appreciated.
Sue
Sunday, 2 June 2019
For A Boy/Man
The new challenge over on Addicted-to-Stamps is for a Boy/Man. As I have just finished this card using the brand new stamp from Pink Ink it seemed right to enter it. I have several male Birthday coming up so made this with one of them in mind. I've used several different brands of alcohol markers to colour the image then blended distress inks top and bottom to give some perspective.
Thanks for taking the time to look and your kind comments which are always appreciated.
Sue
Thanks for taking the time to look and your kind comments which are always appreciated.
Sue
Subscribe to:
Posts (Atom)